
Actually, the number of simultaneous rdp connections is limited rather by the license, which does not allow to create an RDP server based on the workstation for use by several users, than by any technical aspect.
Let’s consider two ways how to eliminate the restriction of simultaneous RDP connections to Windows 10:
The Modification of termsrv.dll
The restriction on the number of RDP connections can be eliminated using termsrv.dll file (a library file used by Remote Desktop Services) modification. The file is located in C:\Windows\System32) directory.Before termsrv.dll file modification, create its backup (if necessary, you can use the original version of the file):
copy c:\Windows\System32\termsrv.dll termsrv.dll_backup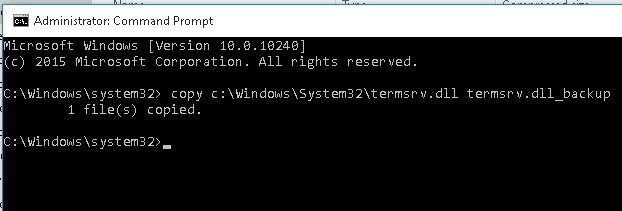
Before termsrv.dll file editing, you have to become its owner and give the Administrators group the full rights to it (all steps are similar to those described in the article “Enable Multiple Concurrent RDP Sessions in Windows 8”). After that, stop Remote Desktop service (TermService) in services.msc console or from the command prompt:
Net stop TermService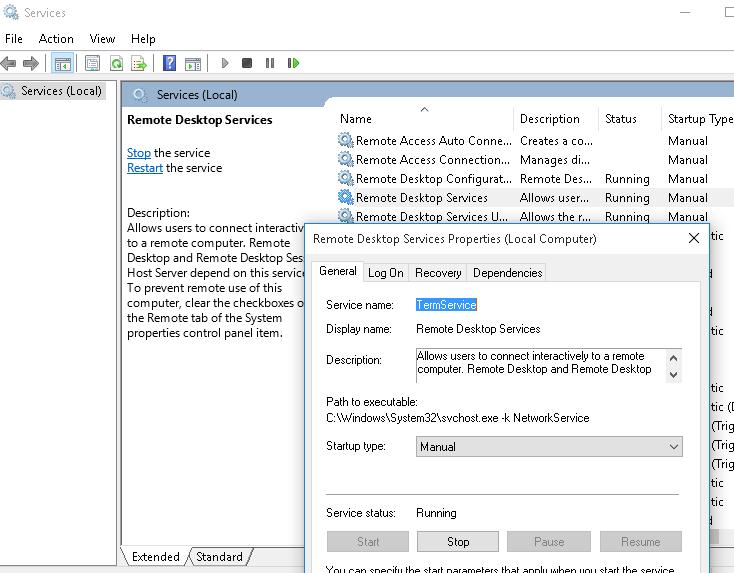
For Windows 10 x64 RTM edition (termsrv.dll file version is 10.0.10240.16384):
Open termsrv.dll file using any HEX editor (for example, Tiny Hexer)
Find the line:
39 81 3C 06 00 00 0F 84 73 42 02 00Replace it with:
B8 00 01 00 00 89 81 38 06 00 00 90
Save the file and run TermService.
The ready patched termsrv.dll file for Windows 10 Pro x64 can be downloaded here: termsrv_for_windows_10_x64_10240.zip
RDP Wrapper Library
The alternative to termsrv.dll file modification is the use of RDP Wrapper Library project. This software serves as a layer between SCM (Service Control Manager) and Terminal Services and allows not only to enable the support of several simultaneous RDP sessions but also to enable the support of RDP Host on Windows 10 Home editions. RDP Wrapper does not make any changes to termsrv.dll file, it just load termsrv with the changed parameters.Thus, this solution will work even in case of termsrv.dll file update. It allows not to be afraid of Windows updates.
RDP Wrapper can be downloaded from GitHub repository: https://github.com/binarymaster/rdpwrap/releases (the last version available is RDP Wrapper Library v1.6)
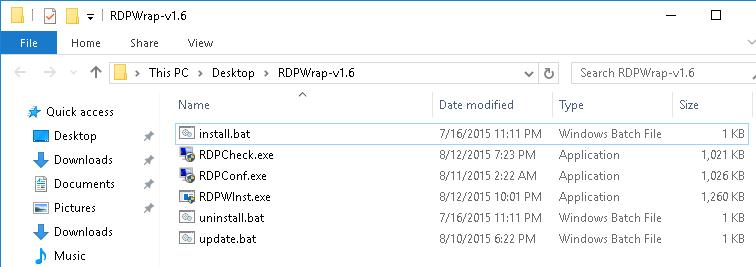
RDPWrap-v1.6.zip archive contains some files:
- RDPWinst.exe — an RDP Wrapper Library install/uninstall program
- RDPConf.exe — an RDP Wrapper configuration utility
- RDPCheck.exe — Local RDP Checker — an RDP check utility
- install.bat, uninstall.bat, update.bat — batch files for installation, uninstallation and update of RDP Wrapper
To install the utility, run install.bat with the Administrator privileges.

When the installation is over, run RDPConfig.exe. Make sure that all elements in Diagnostics section are green.
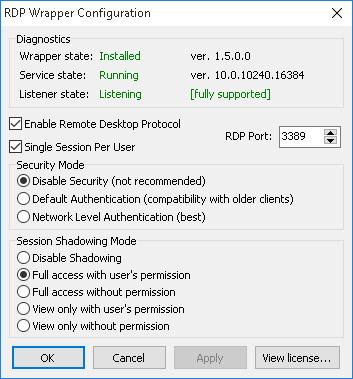
Try to open the second RDP session. It worked out well! Now, our Windows 10 allows two users to start RDP sessions simultaneously.

Source:
http://woshub.com/how-to-allow-multiple-rdp-sessions-in-windows-10/


